5 Things I Learned from Shooting Interiors and Architectural Photography with Film Cameras
About 6 years ago, I purchased an old Canon AE-1 film camera from the 1970’s. I was feeling in a bit of a creative rut, and also really wanted to understand photography better. Being someone who didn’t start doing photography professionally until 2005, I was at the very beginning of when film cameras were becoming “irrelevant”, so I never really explored film photography seriously aside from a general interest in it as a kid. Fun fact – I also made an attempt to join the school newspaper as a photographer and they said I needed to bring my own camera… but having no knowledge of photography and no internet in the mid-90s, I brought my mom’s point-and-shoot 😂. Needless to say, they didn’t assign any projects to me.
I have brought this camera with me everywhere I go had this camera sitting in my car for the last 6 years – only shooting about 2 rolls. It has been sitting in extreme heat and extreme cold so the innards needed some cleaning, so I recently had it cleaned and some parts replaced so that I could start using it again. I was inspired by a number of things to start shooting film, but most recently it was a conversation with my friend Stephen Karlisch that had me strongly considering learning to shoot on film.
That said, here are some recent practice images I photographed using expired Kodak Porta 400 film that I purchased about 5 years ago. I had some other images I took just for fun on older rolls, but this is from the first “official” roll that I attempted to photograph the work I do with, so I am considering these my first attempt at film photography.
Here are a few of the things that I learned in this experiment:
1. STABILIZATION: All of the exteriors were hand-held and really helped me realize how far technology has come. I thought I absolutely NAILED the focus and was completely stable, but most of the exteriors have a bit of motion blur on them from not being stable. That said, I have just purchased a cable to control my shutter so I can keep my hands off of the camera.
2. MEDIUM FORMAT: Being a product of the digital camera revolution, I never really understood 35mm vs. medium format (or any other formats). I now understand it. Looking at a 35mm film negative compared to a 120mm or large-format piece of film, you realize how small these images are. Looking at them small on Instagram, they appear incredibly sharp but looking at them at their actual size they are a bit soft and very grainy. In most cases, it really isn’t feasible to deliver proper client work with just a 35mm camera as I imagine that I will really want to make printing a part of my workflow in the future. That said, once I get the hang of this, I will be looking to upgrade to medium format.
3. EXPOSURE: Having so much control over a RAW image, a light meter is also something I never really understood. I did a decent job on the exposures for this first official practice roll, but I was mostly guessing and reverting back to the zone system – which, to me, is more or less an educated guessing game on how things will turn out. Fortunately, I had a basic understanding of the zone system so I was able to get the exposures I had hoped for in most cases. Still, the interiors were trickier than I thought so a light meter really would have come in handy. In the meantime, I have downloaded an app to help me meter light when I am second-guessing myself.
4. DYNAMIC RANGE: I am still learning about different types of film and when/why to use them, what they offer, etc. What I am learning is that each type of film brings its own personality and unique qualities. I used Kodak Portra 400 on these, which is a highly-rated film. This roll was even expired. The dynamic range of this film is impressive. It isn’t like shooting RAW on a digital camera though – the darks are hard to recover, but the highlights are surprisingly recoverable.
5. THE EXPERIENCE: I don’t really know how to put this into words so it may come off a bit clumsy, but shooting film really does something to the creative part of my photographer brain that I haven’t experienced before. Every time you press that shutter, you know that it is going to cost you close to $2.00 when all is said and done for one single image. This forces you to slow down and really think about what it is you are doing because you are essentially throwing money away if you screw up. According to my rough calculations, I have probably “thrown away” close to $250.00 on trying to shoot film before I even got to this “experimental” roll. The rest was just shooting and learning how the film camera works. After you do your shooting, you are forced to wait for the development process. You have to actually go to a store that processes film or ship it off somewhere. In fact, one of the WORST things that has happened to me so far is that i had one roll where I photographed what I thought were going to be the most magical photos of my daughter ever taken – only to find out that I didn’t load the film properly and nothing turned out. It cost me $6.00 to discover that for the development process, and significant disappointment. All of that said, it really isn’t money wasted, but I am learning valuable lessons with each roll.
THE RESULTS OF MY EXPERIMENT
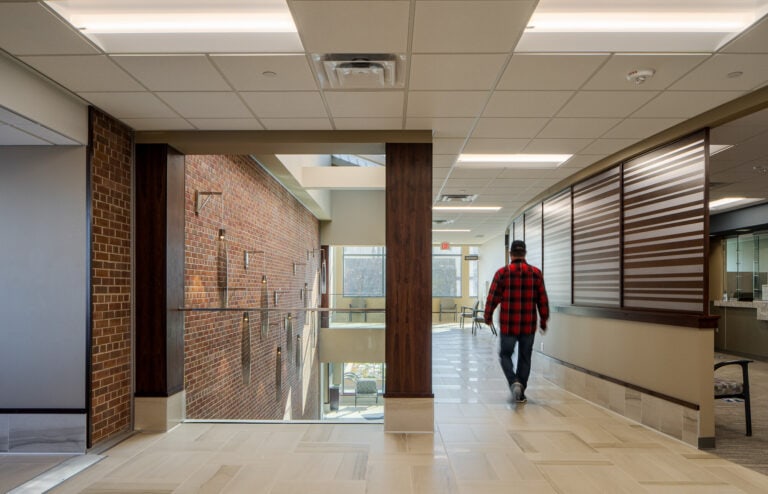
I mentioned highlight recovery above. When I received this image back, the light-colored bricks looked completely white and blown out – but even in the .jpg, I was able to recover them.
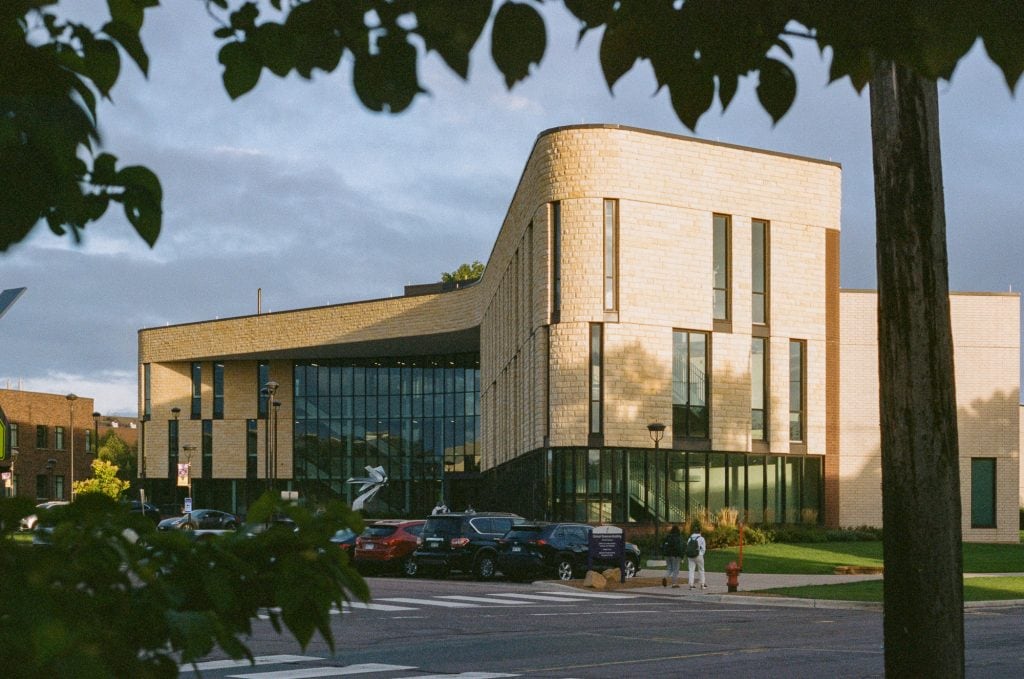
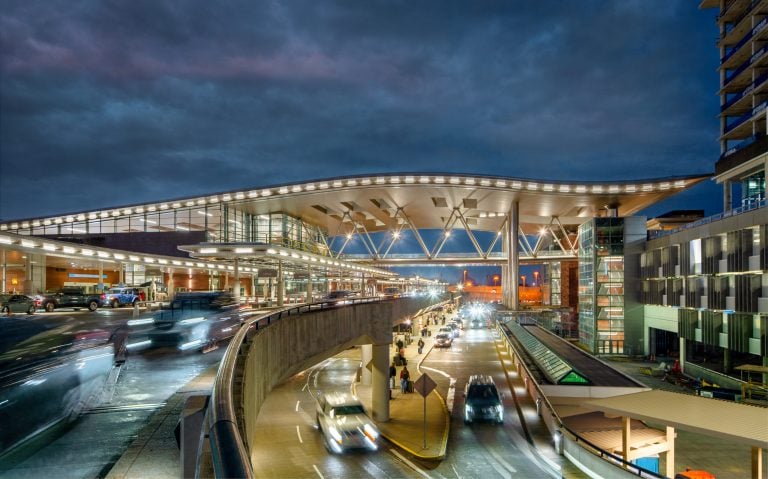
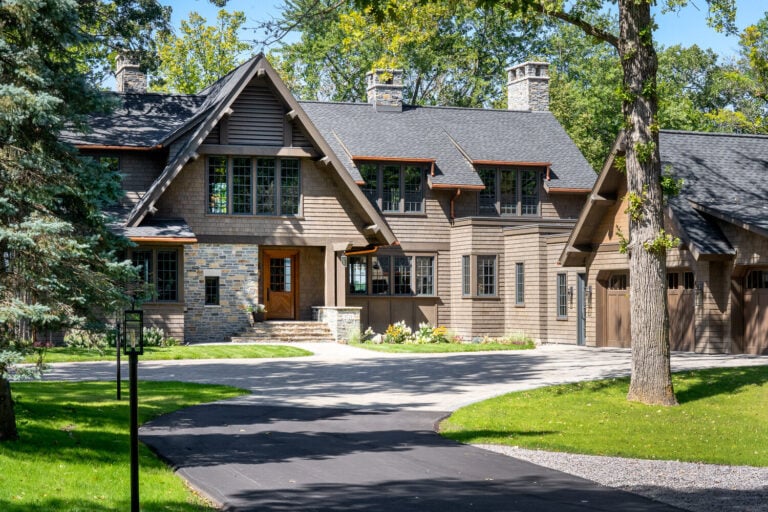
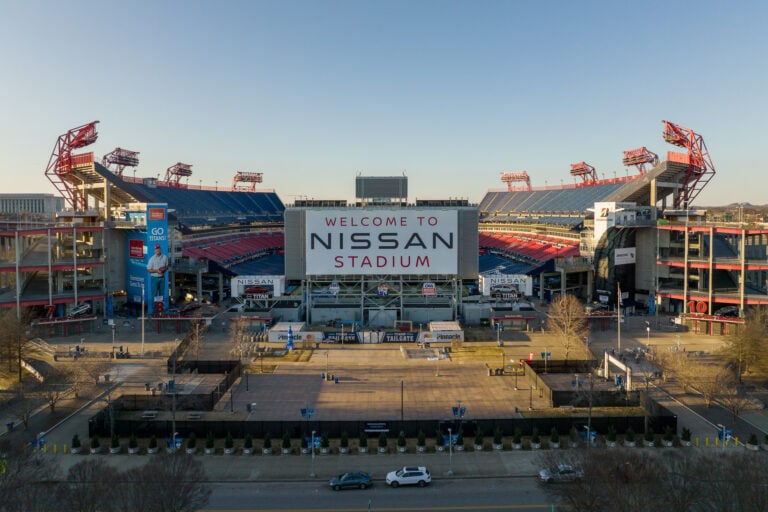
This image was photographed handheld with an 85-205mm lens and had way too slow of a shutter speed to be handholding as you can see from the blur.
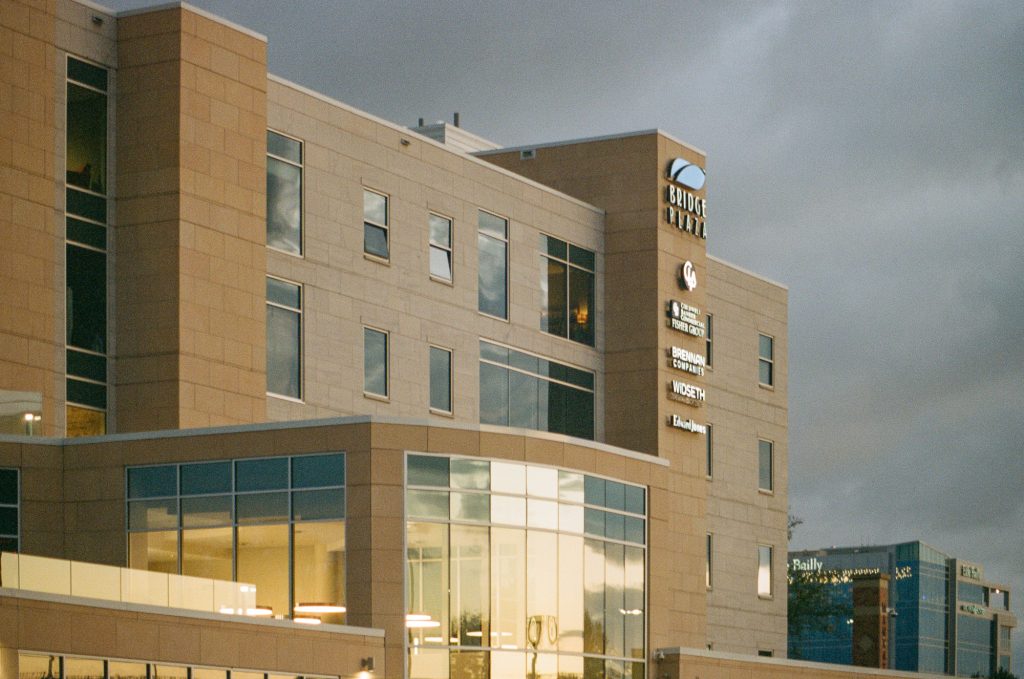
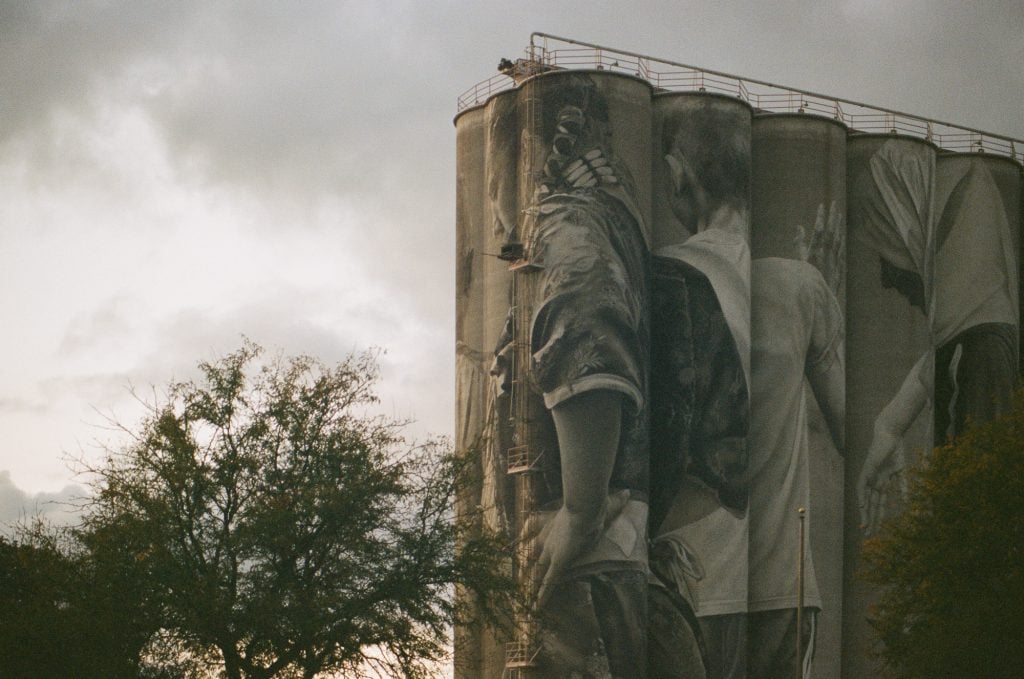
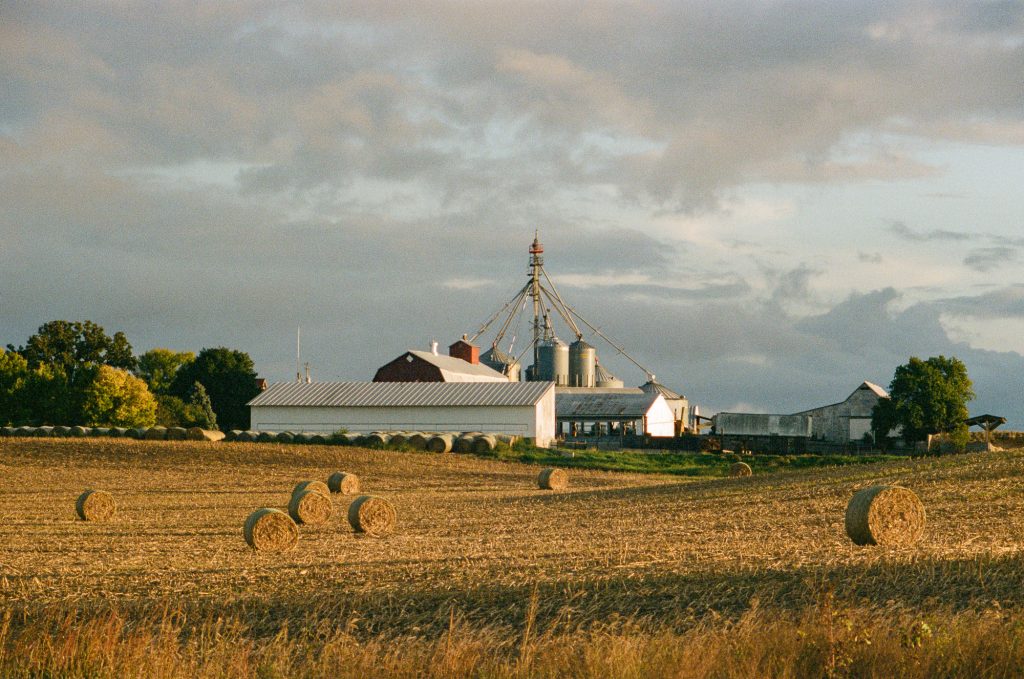
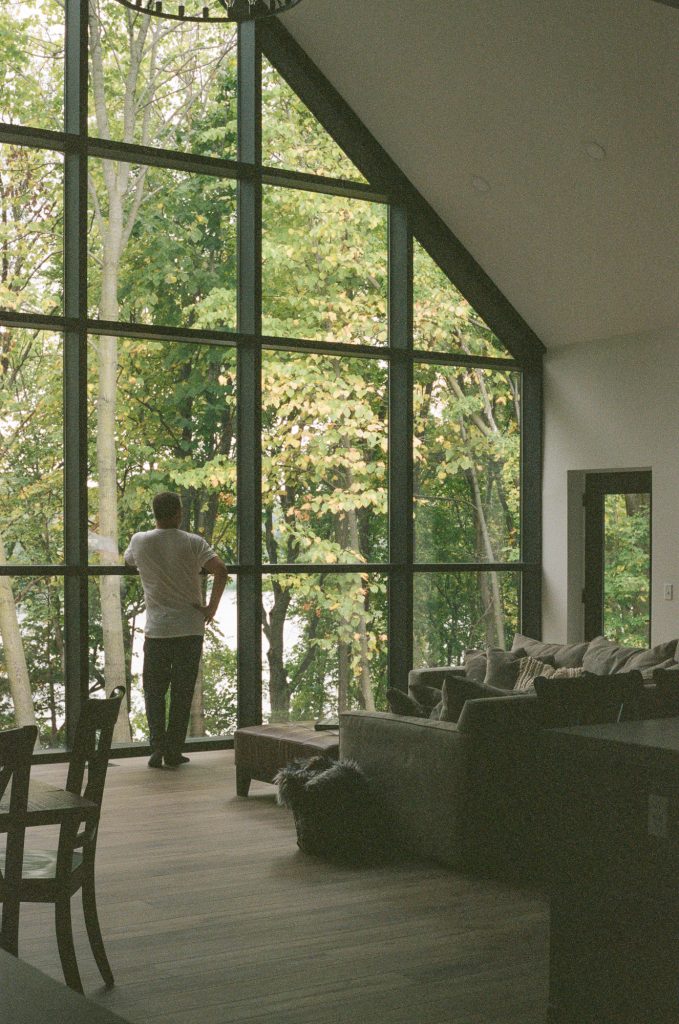
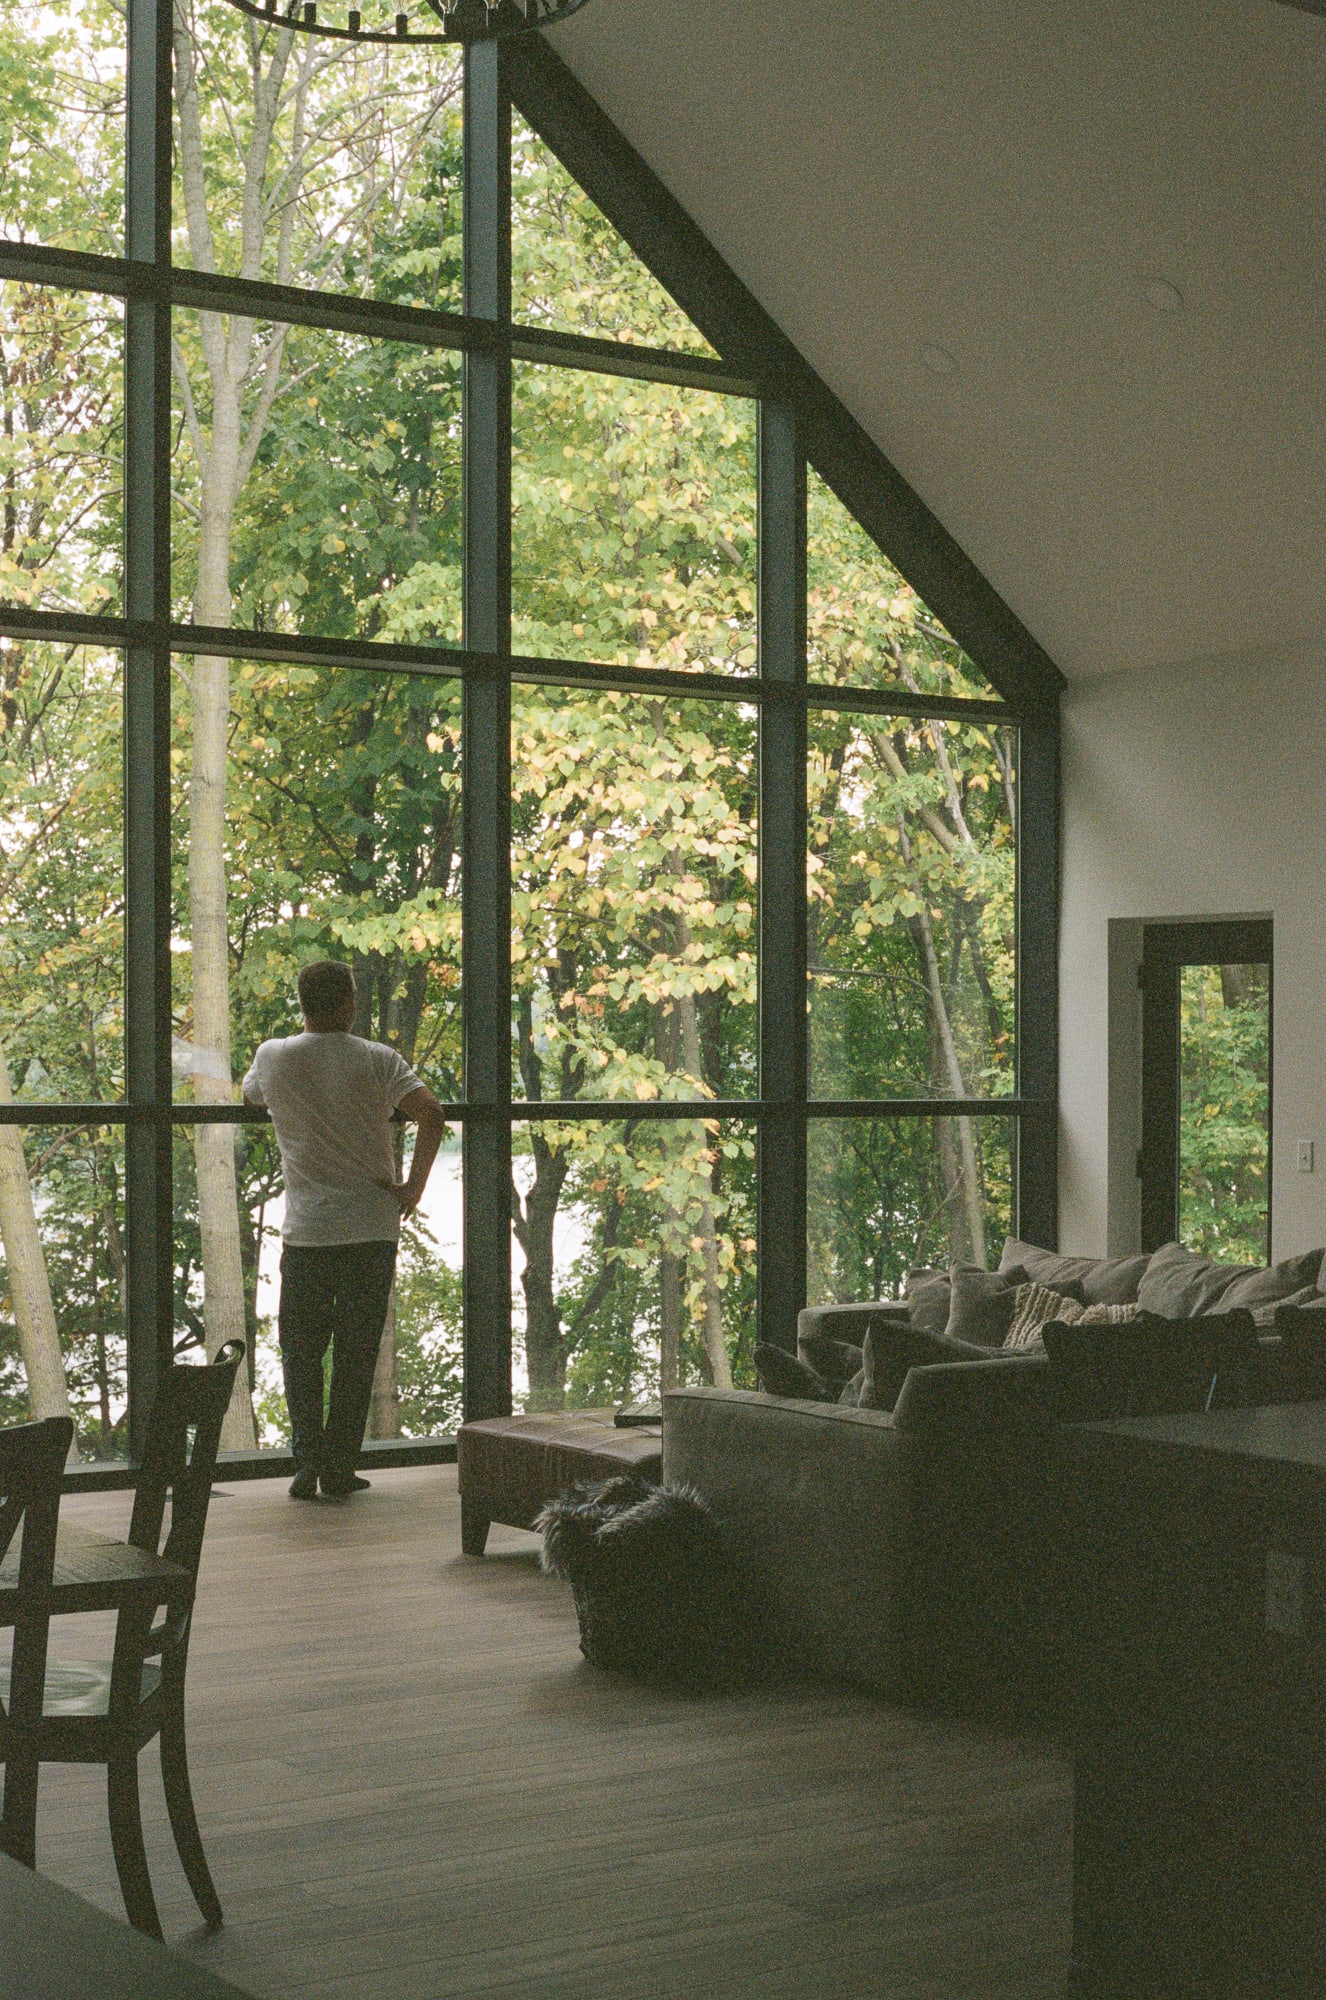
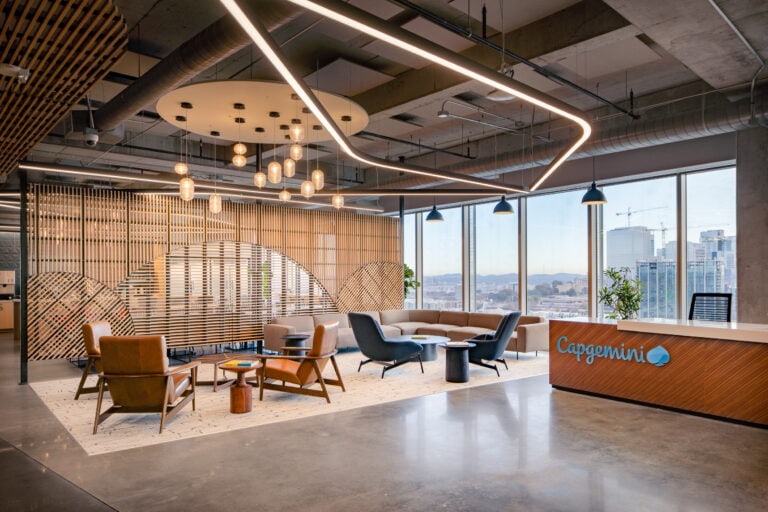
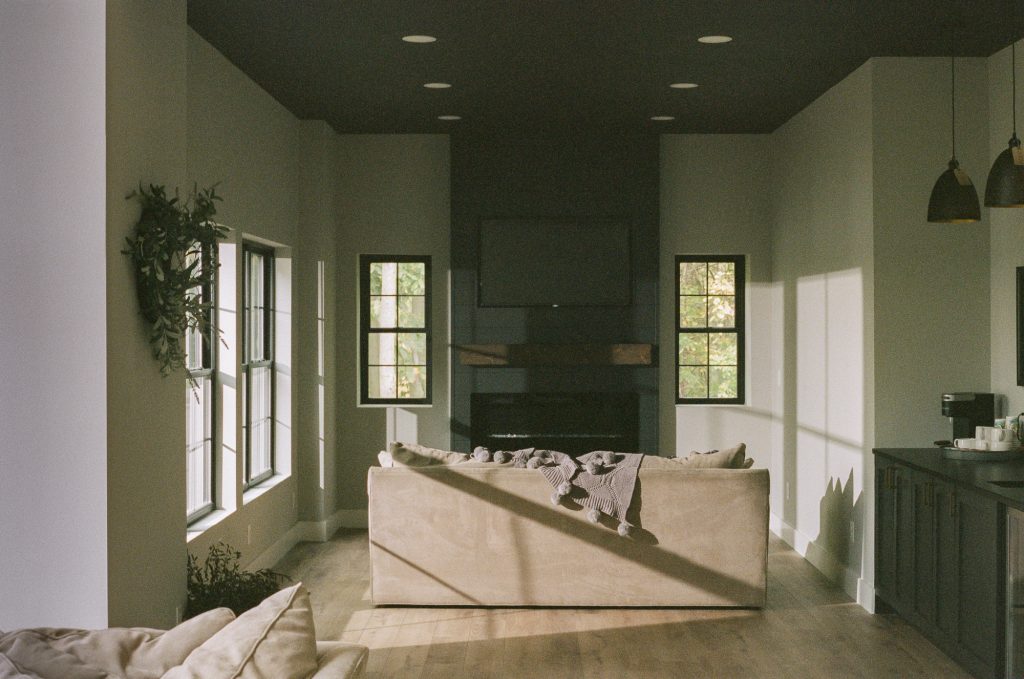
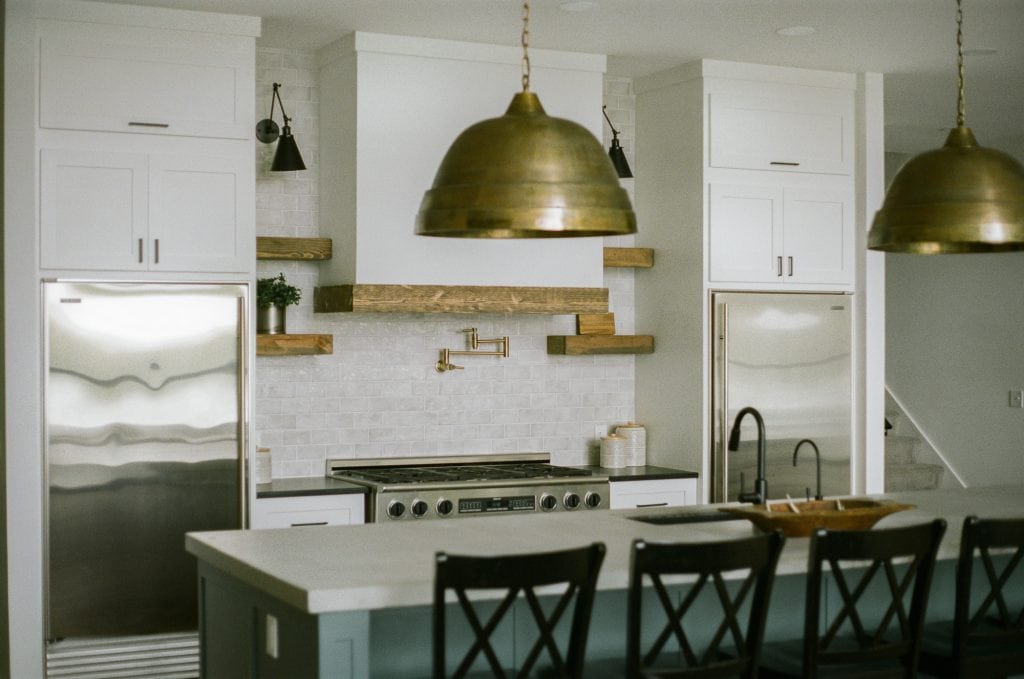
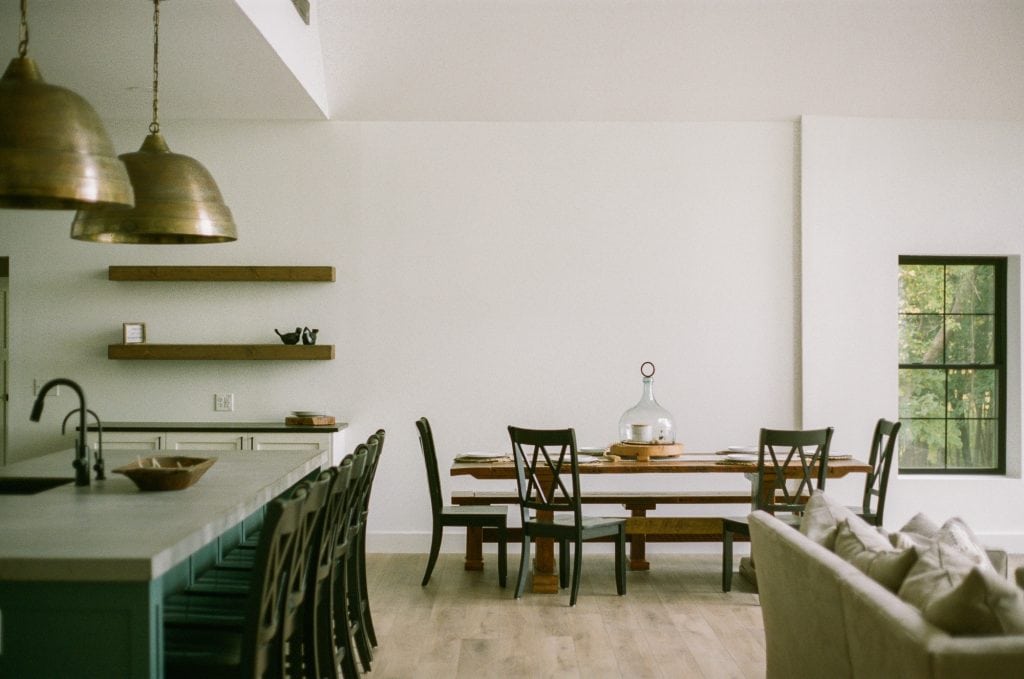
These interior images were photographed on a tripod, but I had no cable release, so while it didn’t really defeat the purpose, these would have been significantly sharper had I used one.
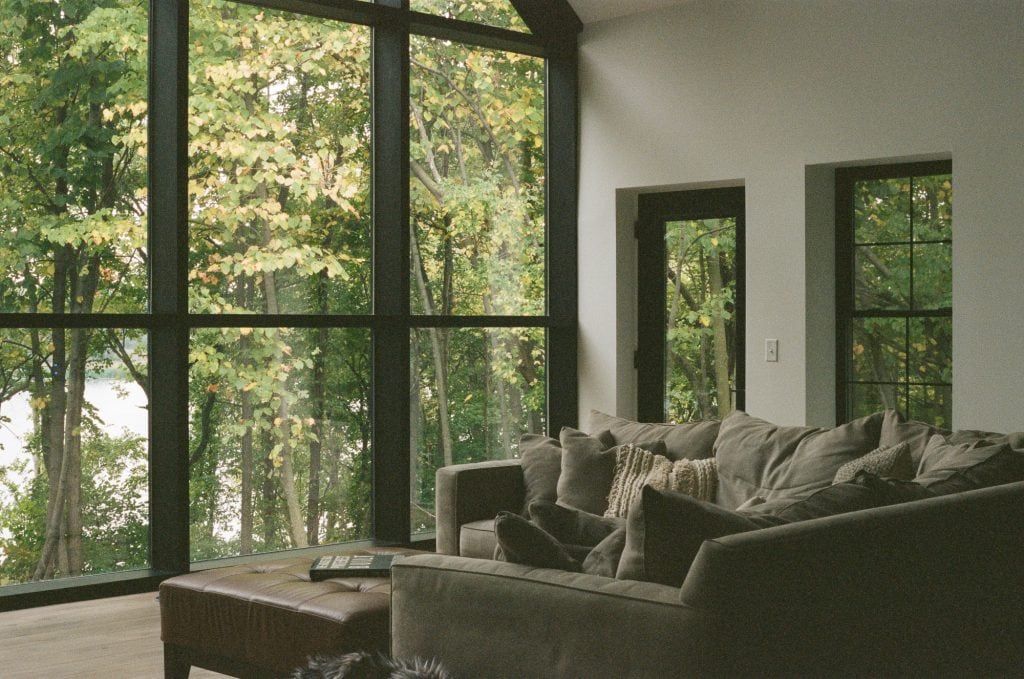
In this photo, I actually used a flash. I had no idea how it would turn out, I just trusted my instincts on this one. It looks exactly how I planned, except that the fireplace was a lot more under-exposed than I had hoped. It is a good reminder to OVER-expose on these types of images.
I had my friend Jason step in on this one to model and it is definitely one of my favorites from the entire set.
